Using State to Manage Data

In React, state is used to manage and store data that can change over time. State is an object that can be updated using the setState() method. When the state of a component changes, React will automatically update the component to reflect the new state.
Setting Up the Component
To set up a component with state, we need to first create a class-based component. Here's an example:
import React, { Component } from "react";

class Counter extends Component {
  render() {
    return <h1>Counter</h1>;
  }
}

export default Counter;
In this example, we've created a class-based component called Counter. We've also imported React and the Component class from the react package.
Adding State
To add state to the Counter component, we need to define a constructor and set the initial state of the component. Here's an example:
import React, { Component } from "react";

class Counter extends Component {
  constructor(props) {
    super(props);

    this.state = {
      count: 0
    };
  }

  render() {
    return (
      <div>
        <h1>Counter</h1>
        <p>Count: {this.state.count}</p>
      </div>
    );
  }
}

export default Counter;
In this example, we've added a constructor to the Counter component that sets the initial state of the component. The initial state includes a count property with a value of 0.
Updating State
Now that we have state set up in our component, we can update it using the setState() method. Here's an example:
import React, { Component } from "react";

class Counter extends Component {
  constructor(props) {
    super(props);

    this.state = {
      count: 0
    };
  }

  incrementCount() {
    this.setState({
      count: this.state.count + 1
    });
  }

  render() {
    return (
      <div>
        <h1>Counter</h1>
        <p>Count: {this.state.count}</p>
        <button onClick={() => this.incrementCount()}>Increment</button>
      </div>
    );
  }
}

export default Counter;
In this example, we've added a method called incrementCount() that updates the state of the component by incrementing the count property. We've also added a button to the component that calls the incrementCount() method when clicked.
Replicating the Code
To replicate this code on your local machine, follow these steps:
Open your terminal and navigate to the directory where you want to create the project.
Run the following command to create a new React project:
npx create-react-app my-appNavigate to the project directory by running the following command:
cd my-appOpen the
srcdirectory and create a new file calledCounter.jsx.Copy the code snippets from above into the
Counter.jsxfile.Save the file.
Open the
App.jsfile and replace the existing code with the following:import React from "react"; import Counter from "./Counter"; function App() { return ( <div> <Counter /> </div> ); } export default App;Save the file.
Run the following command to start the development server:
npm start
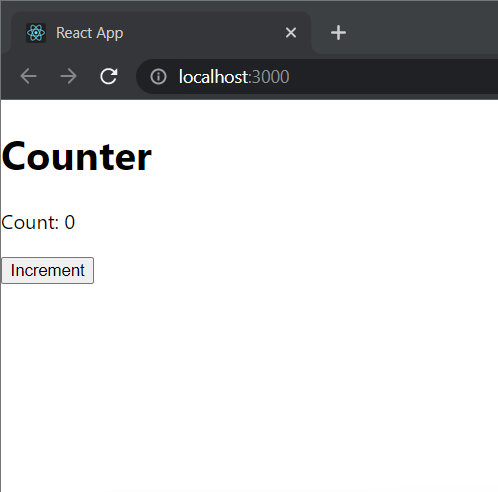
App at start
App after clicking the Increment button for 21 times

Conclusion
In this blog, we explored the concept of state in React and how it is used to manage data within a component. We learned about the useState hook and how it can be used to update state and re-render the component. We also went through a simple example that demonstrated the use of state to create a counter component. With this understanding, you can now leverage state management to create more dynamic and interactive React applications.