Create a Weather App with React: A Step-by-Step Guide

In today's digital world, weather applications have become a necessity. Knowing the weather forecast is important for planning outdoor activities, travel, or simply preparing for the day ahead. In this tutorial, we will walk through the steps to create a React application that fetches weather information from a user-entered value.
Prerequisites
Before getting started, make sure you have the following installed on your computer:
Node.js and NPM (Node Package Manager)
An IDE of your choice, such as Visual Studio Code or Sublime Text
Step 1: Create a new React App
Open your terminal and create a new React application using the following command:
npx create-react-app weather-app
This command will create a new React application in a folder named weather-app. Navigate into the folder using the command:
cd weather-app
Step 2: Install Required Packages
Next, install the packages needed to fetch weather data from an API. We will use the axios package to make API requests, and dotenv to securely store API keys. Run the following command to install both packages:
npm install axios dotenv
Step 3: Get an API Key
To fetch weather data, we need an API key. There are many weather APIs available, but for this tutorial, we will use OpenWeatherMap.
Go to OpenWeatherMap and sign up for a free account. After signing up, you will receive an API key. Save this key for later.
Step 4: Create a .env File
To securely store the API key, create a .env file in the root directory of your project. Add the following line to the file, replacing API_KEY with your actual API key:
REACT_APP_API_KEY=API_KEY
Step 5: Create a Weather Component
Create a new file in the src folder named Weather.js. In this file, we will create a functional component that will fetch weather data and display it on the screen. Here's the code:
import React, { useState } from "react";
import axios from "axios";

const Weather = () => {
  const [city, setCity] = useState("");
  const [weatherData, setWeatherData] = useState(null);

  const fetchWeatherData = async () => {
    try {
      const response = await axios.get(
        `https://api.openweathermap.org/data/2.5/weather?q=${city}&appid=${process.env.REACT_APP_API_KEY}`
      );
      setWeatherData(response.data);
    } catch (error) {
      console.log(error);
    }
  };

  const handleSubmit = (event) => {
    event.preventDefault();
    fetchWeatherData();
  };

  return (
    <div>
      <form onSubmit={handleSubmit}>
        <input
          type="text"
          placeholder="Enter city name"
          value={city}
          onChange={(event) => setCity(event.target.value)}
        />
        <button type="submit">Get Weather</button>
      </form>
      {weatherData && (
        <div>
          <h2>{weatherData.name}</h2>
          <p>{weatherData.weather[0].description}</p>
          <p>Temperature: {weatherData.main.temp}</p>
        </div>
      )}
    </div>
  );
};

export default Weather;
Let's break down what's happening in this component:
We import React,
useStatehook, andaxiospackage.We define two pieces of state:
cityto store the user-entered city, and `weatherData` to store the weather data fetched from the API.We define an
asyncfunction calledfetchWeatherDatathat makes a GET request to the OpenWeatherMap API using theaxiospackage. It takes the user-enteredcityand the API key from the.envfile as parameters.We define a
handleSubmitfunction that calls thefetchWeatherDatafunction when the form is submitted.We return a form with an input field and a button. When the form is submitted, the
handleSubmitfunction is called.If
weatherDatais not null, we display the weather information returned from the API.
Step 6: Add the Weather Component to App.js
Open the App.js file and import the Weather component:
import Weather from "./Weather";
Replace the default JSX code with the Weather component:
    function Header() {
      return (
        <header>
          <h1>Weather App</h1>
        </header>
      );
    }

    function App() {
      return (
        <div className="App">
          <Header />
          <Weather />
        </div>
      );
    }

    export default App;
Step 7: Run the Application
Finally, run the following command to start the application:
npm start
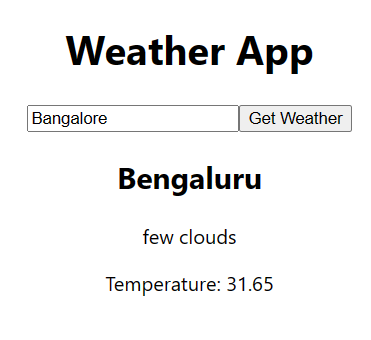
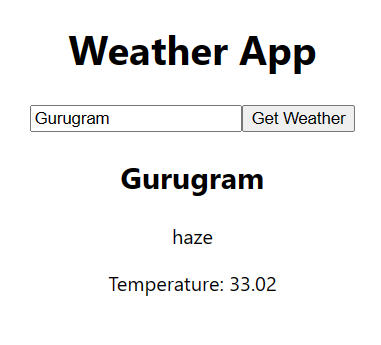
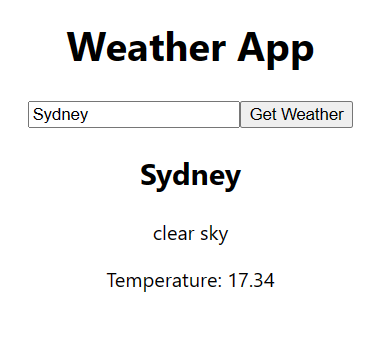
Open your browser and navigate to http://localhost:3000. You should see the weather application with an input field and a button. Enter a city name and click the button to fetch the weather data.
Congratulations! You have successfully created a React application that fetches weather data from a user-entered value. You can customize the application further by adding styling or additional features, such as a five-day forecast or a map. Happy coding!
Application Screenshots

Closing note
Congratulations on completing the "25 React Exercises for Practical Learning" series! We hope that these exercises have given you a solid understanding of React concepts and techniques and helped you gain hands-on experience with building React applications.
Remember that learning is an ongoing process, and there's always more to discover and explore. We encourage you to continue practicing and experimenting with React to strengthen your skills and build more complex applications.
Thank you for joining us on this journey, and we wish you all the best in your future React endeavors!